Having tools is always a good thing. You can fix things around the house without needing to call a handyman. You can help your friends or even use them for a hobby like woodworking! However, there is nothing worse than having all your tools just lying around. They can easily pile up and make a mess. And you don’t even notice it until you spend hours searching for just the right tool. What do you do on such an occasion? Do you go looking for storage units Fort Lauderdale to put all your tools there? This can be a good idea if you are not using your tools often. However, if you are, and you need them nearby, then you should probably build a tool shed. And if you don’t know how to do it – you are in luck! We will teach you in this article!
Steps you need to take to build a tool shed
Building a shed doesn’t need to be too complicated. Even if you have never done it before, if you follow our simple instructions, you are sure to succeed. The main thing to remember is not to make the process something it isn’t. Just take it easy and make sure you understand each step. To simplify it even more, we can divide the process into just a couple of steps:
- prepare the ground for your shed;
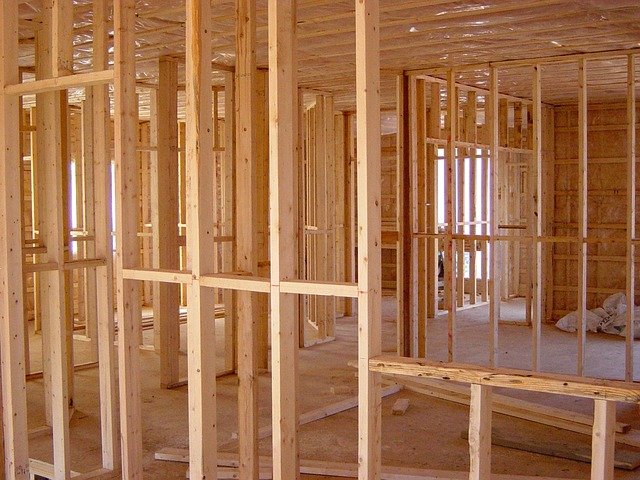
- create a framework that will help you build a tool shed;
- cover up all the walls and add finishing touches.
As you can see, when you separate it into different steps – the process doesn’t even look that complicated. Now, let’s take a look at what each of these steps actually means.
Preparing the foundation
The first thing you will need do to is to carefully pick where your tool shed needs to go. This needs to be somewhere on your property, but also in a good spot so as not to obstruct it too much. Of course, if you are a newcomer to South Florida moving, you should also look into the laws and regulations for where you live. Some areas will require you to have a permit for putting an in-ground foundation.

To build a tool shed, first you will need to level the ground. Then, you will need deck piers which will support the shed. It’s best to put them in a grid pattern – with equal spacing amongst them. This spacing doesn’t need to be equal in every direction, though. You can have them be 6 feet apart left and right, while 4 feet forward and back, for example. Their number might change based on how big you need your shed to be. In our example, you would have an area of 12×8 feet – the perfect size for three 4×8 feet plywood sheets to go on top of it.
Before you get to putting up the floor, though, you will need to add some more stability to your foundation. You can do this by installing three support beams lengthwise over the deck piers. Then, you can attach joists to them, and separate those with blocking. The joists go on both edges of the foundation, right on top of the support beams. They should be the same length, as well. Then, you add floor joists perpendicular to the first two, whose length will cover the distance between the original two joists. To ensure further stability, you can insert a small piece of blocking between each of these shorter joists.
Build a tool shed by setting up the outer shell
Once you have the foundation all set, all you need to do is get some plywood sheets and nail them to the joints from it. You can get the two pieces of plywood together however you want, though H-clips is a pretty good way to go.
Then it’s time to make walls. These will require you to build a framing first. However, when you build a tool shed, you will need to tackle each wall separately. This is because they all have their own differences among each other. For example, the front wall needs a doorframe, while the side walls need to be sloped a bit.
The best way to go about doing this is to build the back wall first. The top and the bottom beams should be the length of the floor. Then, you just add vertical studs between them. To make the job even easier, you can keep the same spacing you had between your floor joists – you already know these numbers. However, remember to make the back wall lower than the front. This way, the roof slopes backward to push the rain away from the door. You can build the front wall the same – just leave a doorframe!
After that comes the tough part. This might be the one thing why you regret opting for DIY home improvement and renovation projects. First, the bottom beam needs to be the distance between the front and back walls. However, the top one needs to be sloped backward because of the height difference. This is why the vertical studs will all be different height too. Take this step slowly and measure everything carefully!
Add finishing touches to build a tool shed completely
After you got the framework, it’s time for the roofing. Get some rafters across the roof, and blocking to separate them further. This way, your tools will be even further protected from the Florida weather. You can do the same trick as before and just repeat the spacing you used. Then, all you need to do is nail plywood to the roof and all of the sides of your tool shed.
To build a tool shed completely, now you just need tar paper for the roof. Start with the lower end and work towards the front side of the roof. The thing to remember is to overlap each paper as you go. This way, the rain will not get into the cracks. Of course, to improve your Miami home even further, you can now use shingles and paint your tool shed how you want. And with that, you have a place for all your tools!